Create Custom Draggable Bottom Sheet With React Native
Create Custom Draggable Bottom Sheet With React Native

In This Article , I’ll explain how you can easily create a draggable custom bottom sheet in react native which you can swipe up to draw, and swipe down to hide and with 60FPS animations,
So Without wasting any time, let’s do this
create a new expo or react native project (if you don’t have already created)
create a folder and name it components on the the root of your project
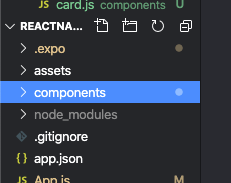 |
inside of that folder create a new .js or .jsx file, in our case i’ll name it “actionSheet.jsx”
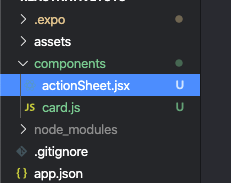 |
| Add caption |
this file will be your main bottom-sheet component, and you can style it your way but some important things you should know are mentioned below
the main view in your actionsheet or bottom-sheet will be styled like this, though you can choose the backgroundColor and borderRadius of your choice
container: {
backgroundColor: "#fff",
position: "absolute",
left: 0,
right: 0,
bottom: 0,
height: height / 2.4,
width: width / 1.05,
borderTopRightRadius: 40,
borderTopLeftRadius: 40,
marginHorizontal: 10
Next you need to create Animations for this bottom-sheet in order to make it able to draw and hide
create a new Animated value and initialize it with 0 (zero) inside of the state in the actionSheet.jsx or whatever you named it earlier. your code should be similar to the one below
in the above code we used -height/2.4 as it was the height of the bottom-sheet mentioned in the container style, and we added +50 to it so that it doesn’t disappear completely when we hide it, a little portion of it should be visible so that user can grab and pull it.
and finally let’s create a dynamic style
const actionSheetStyle = {
bottom: actionSheetIntropolate
}
and now let’s apply that style to the Animated View
<Animated.View style={[styles.container, actionSheetStyle]}> </Animated.View>
in the above code, we used array for the styles so that we can use multiple style objects.
Now let’s create the trigger for the animations to occur, we’ll use swipe up and swipe down gestures to draw and hide the actionSheet. so for that we’ll use scrollview
We Wrapped the ScollView inside of another view, so that it doesn’t take all the height of its parent.
the style for grabBar should be something like that
the above function is quite similar to the bringUpActionSheet() but only it takes the animated value back to 0 instead of one.
so that was the tutorial for how to create custom draggable bottomsheet using react native , if you don’t understand it well enough, i have a video tutorial on that also, feel free to watch

